Are you looking for ways to make your embroidery look attractive? Then, the most popular way is to add a final touch-up by embroidering names or initials or on your fabric.
This will not only make your embroidery catchy but will also distinguish your fabric from others. This means that these embroidered letters can also be used as an identification mark. You can embellish your names to prevent your clothes or fabric from being lost or personalizing your belongings. Name embroideries are commonly used in gyms or schools so that the people’s possessions do not get mixed up.
To embroider names, the first thing we want to look at is the process of embroidering initials. Once you can embroider initials, you can then make different combinations of these initials to form names or even sentences!
Factors considered
Before we start embroidering, there are a few factors we must consider about the font of the embroidery:
Size: The font should be simple when embroidering small letters. This is because it is challenging to embroider smaller letters, especially when tight curves and angles are made.
Legibility: Before finally deciding on the font you want to use, you might want to practive on some of the letters. This may be necessary because fonts appear one way on paper but may look completely different when embroidered using a needle and a thread. Some letters are just harder than others.
Appearance: You should select a font depending upon the item’s nature on which the letters are to be embroidered. For example, if a wedding blanket is an item, a romantic cursive font may be suitable.
Embroider Names
There are various ways to embroider names and ome of them are very easy and simple, whereas others are, well, a bit more tricky. The good news is that you should only learn the basics to make embroidering names easy regardless of the method used.
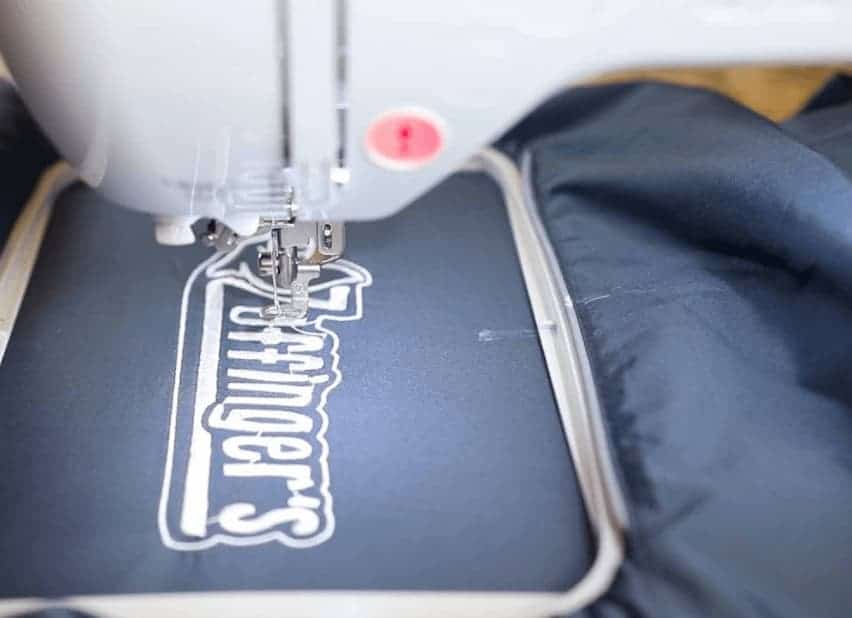
How to Embroider Names / Letters with an Embroidery Machine
To embroider initials perfectly, the embroidery machine is the best option. Embroidery machines are either single needle or multi-needle embroidery machines. The more needles in a machine, the more perfection is guaranteed.
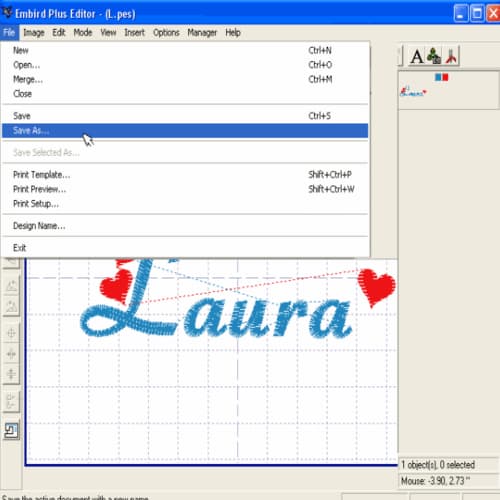
Step 1: Design a template
You can select a layout of your creativity or by using a computer image. If you are using the computer image, make sure that the font is not too thin.
However, you should try to be somewhat innovative. So, Research and select beautiful designs or mirror the letters before starting.
Step 2: Prepare the fabric.
To start cutting the design, it is necessary to prepare the fabric. This can be done by using a double-sided stabilizer. The adhesive on both edges of the stabilizer will provide firmness to the fabric and prevent fraying. This further helps in ironing the fabric before cutting.
Step 3: Place the design onto the fabric
Before the actual sewing, use a ruler to confirm the width and length dimensions of the stitch.
Step 4: Use an embroidery needle to stitch
Now you can stitch the paper template over the fabric. To do this, thread the embroidery machine thread with the machine needle.
Step 5: Stitch the first initial.
Make sure to hold the hoop with good tension while doing the initial few stitches. This will protect the thread.
As you stitch, remember moving the hoop along with your stitching motion.

Step 6: Give the final touch.
Once the stitching of the initial is complete, you will observe s fine dotted line created by the needle. This helps to tear the paper.
After you are done, raise the needle and pull the thread to cut it. Remember—you cannot remove the fabric—and this necessary to avoid uneven filling.
How to hand embroider Names / Letters onto the fabric?
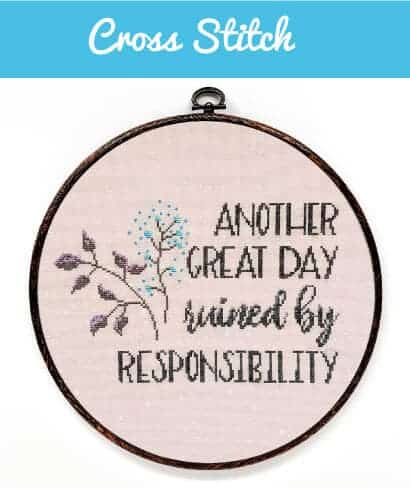
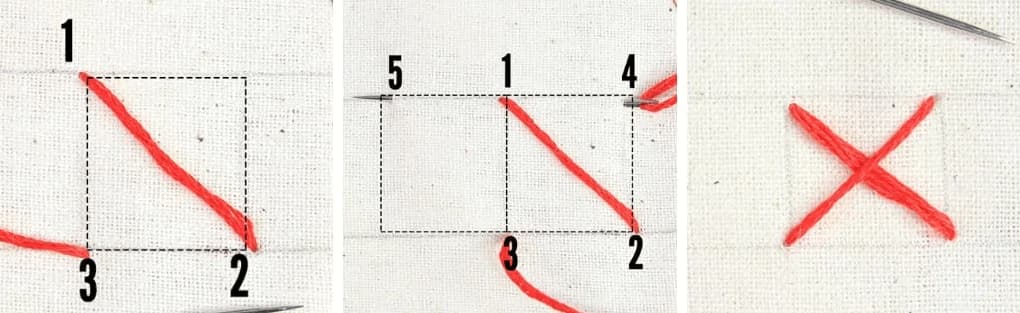
1. Cross stitch
Cross stitch is a very common approach (stitch) to fill in the outline of a letter. It is considered a type of sewing and a popular form of counted-thread embroidery wherein X-shaped stitches in a tiled, raster-like structure form an initial.
The stitcher counts threads on a segment of even fabric in each direction just so the stitches are similar in shape, size, and appearance.
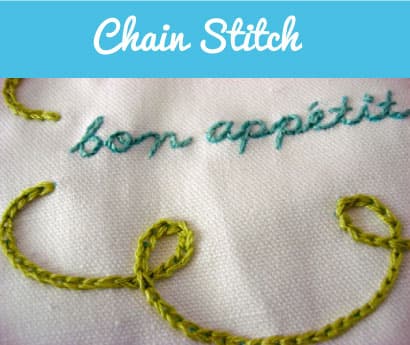
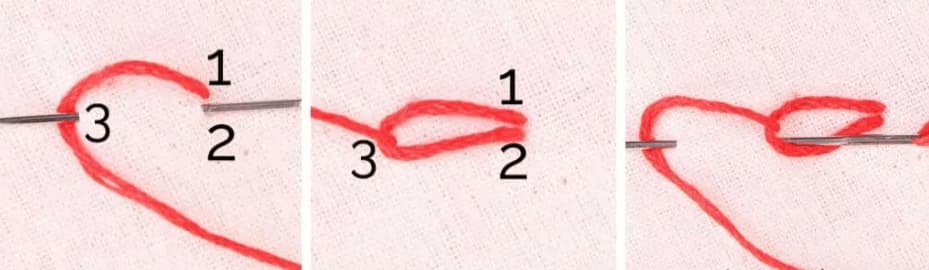
2. Chain stitch
This has many variations like double chain stitch or braided chain stitch. These variations of a chain stitch help to add thickness and dimension to the simple stitch.
Moreover, it is a straightforward embroidery technique in which a chain-like pattern is formed with a series of looped stitches.
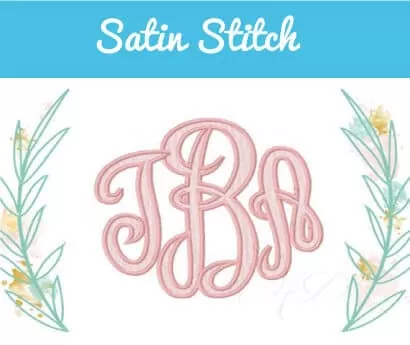
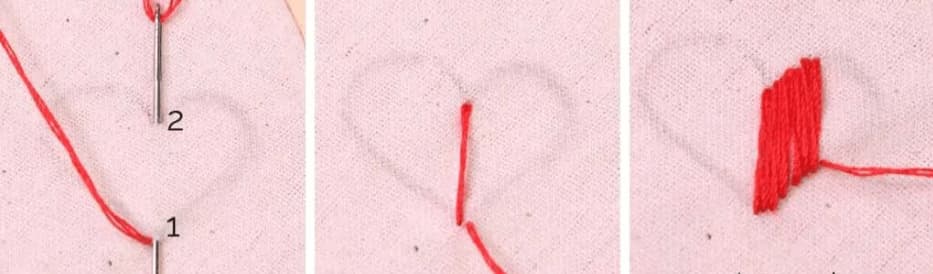
3. Satin stitch
A satin stitch has a variation of a padded satin stitch too. This stitch helps to embroider letters with a series of flat stitches. This will help to cover the entire portion of the background fabric.
This satin stitch can also be implemented on a regular sewing machine.
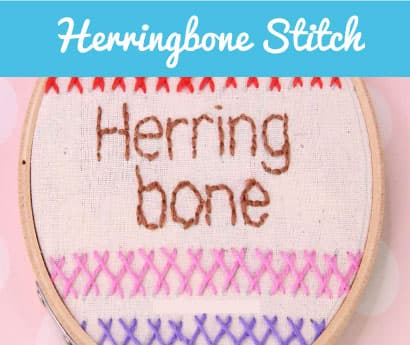
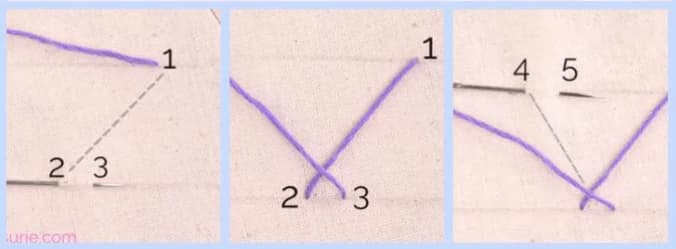
4. Herringbone stitch
Herringbone stitch is a needlework stitch used for embroidery of letters. It depicts bones that stretch from a herring fish’s spinal column, which is why it is called a herringbone stitch.
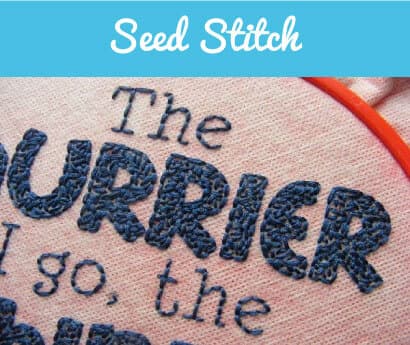
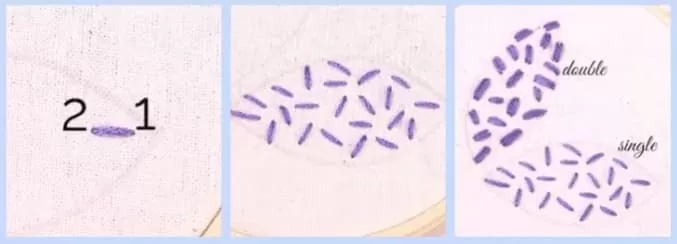
5. Seed stitch
This is a pervasive and easy stitching pattern to create letters. It consists of alternating knit stitches and purl stitches within a row as well as between rows.
The stitches form specific bumps that might appear like seeds, so it is called a seed stitch. It is similar on both sides and is flat.
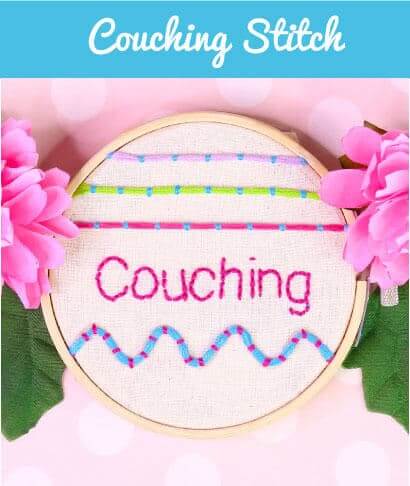
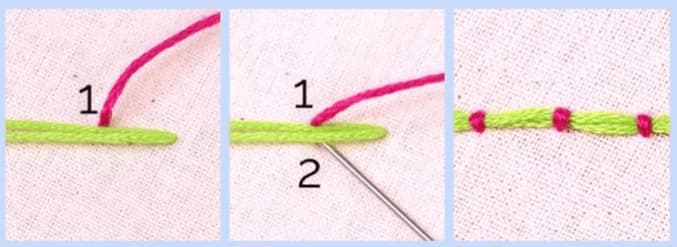
6. Couching stitch
This stitch is unique because it uses a laid work technique. The yarn or even other substances are laid over the ground fabric’s surface and held in place with tiny stitches with the same or different yarn. The couching threads can be either the same color as the threads laid or the differing color.
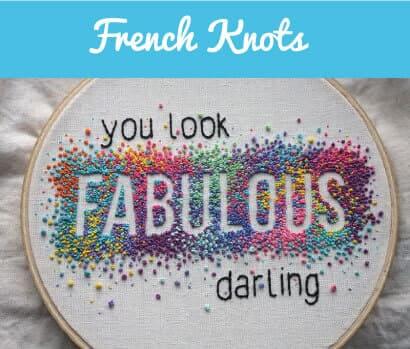
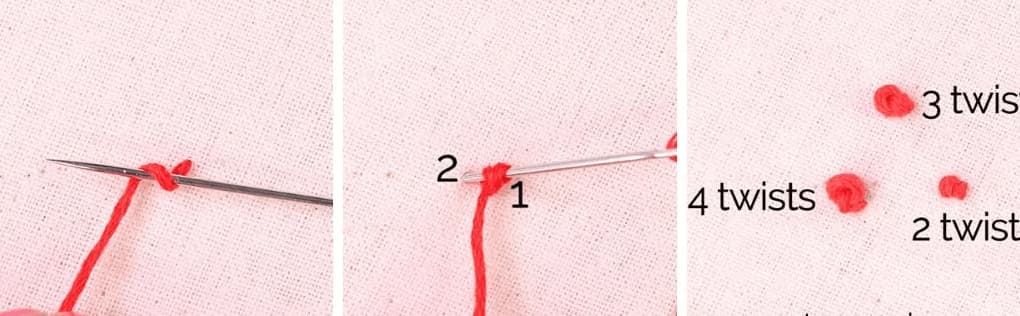
7. French knots
This type of stitch is a beautiful and decorative stitch. It is created by wrapping the thread one or more times around the needle and pulling the needle away through the material at the point where it came out.
8. Outline stitches
4 main outline stitches are used to embroider letters easily by hand. All of these have different methods to embroider. These include:
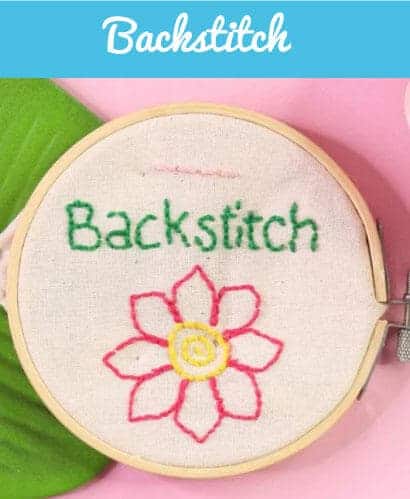
Backstitch letters
It is a technique of sewing letters with overlapping stitches. To begin with, the backstitch, go underneath the garment and bring the needle and floss through it.
After this, create your first stitch. Then put the needle back just under the fabric to a full-size stitch. Make sure that you leave a space between both the needle and the previous stitch.
Carry the needle back and follow-through at the end of the previous stitch to make a complete boundary. Pull the needle and move forward in the same manner till you have stitched the entire initial.
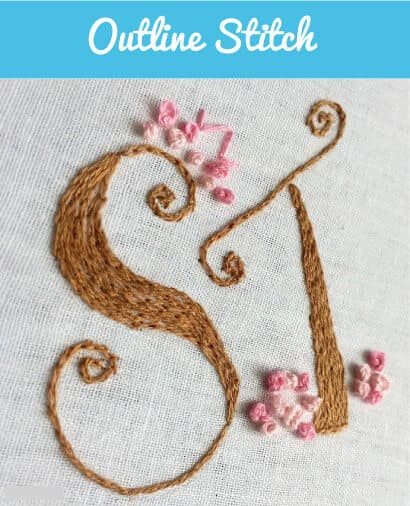
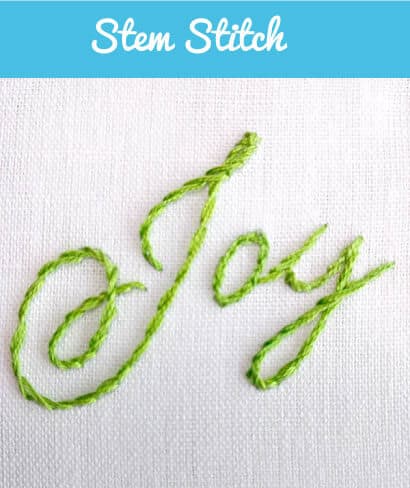
Stem stitch letters
With this stitch, the letters appear as twisted ropes. It is best for cursive fonts. It is a basic stitch that creates a thin line mainly to create a letters’ outline.
To begin the first stitch, bring the floss up through the fabric from the underside. Then bring the needle to the edge of the stitch that you recently created. Keep following the same pattern unless you complete the letter.

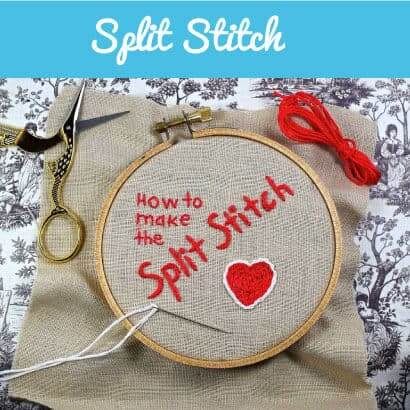
Split stitch letters
This stitch gives your letters the appearance of a braid or plait. This is because it adds dimension to your letters. It is a fine chain stitch that brings the needle through a soft thread.
The needle and the floss should be brought through the fabric’s underside and back down to make the first stitch.
Then, the needle is brought up through the center of the previous stitch to split the floss. The process is repeated unless the letter is completely embroidered.
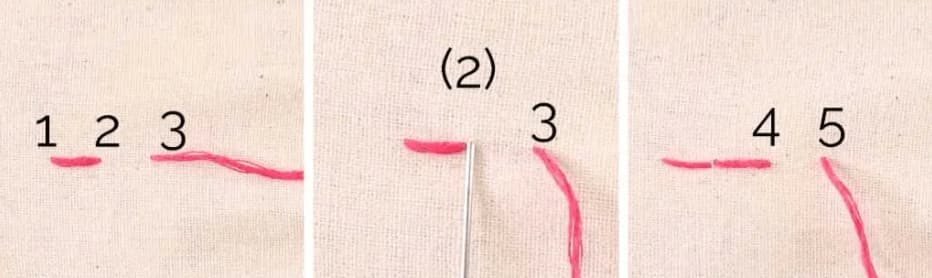
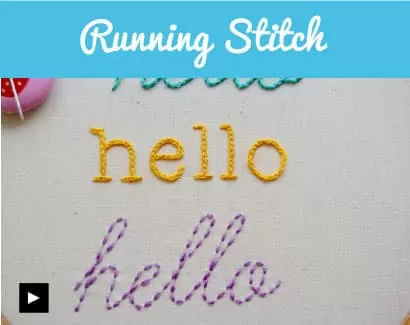
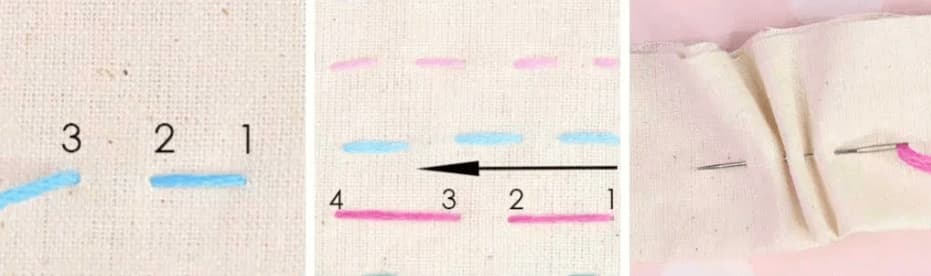
Running stitch letters
This is also known as the straight stitch. It is the basis of all the other stitches. This is because all the different stitches are made by adding variations in length, spacing, and straight stitch direction. It appears similar to a dashed line.
To begin with, this stitch brings the floss and needle up through the fabric. Then move the needle in and out at regular intervals to catch a bit of the fabric with each stitch. Continue till the outline of the letter is complete.
Besides these methods of embroidering names, you can also use
Applique letters
If you don’t have an embroidery machine, you can use do this by hand to embroider letters. If that too is not interesting enough for you, applique is a good choice when creating big-sized letters. The good news is that with applique, every size of letters can be embroidered on any type of fabric.
Applique is sewing the letter patches using a patches embroidery machine or by hand. This helps to create beautiful letters with unique fonts without much effort.
What can be decorated by embroidering names?
Several items use embroidery of names. Some of these are:
- baby bibs
- baby blankets
- Christmas stockings
- handkerchiefs
- gym bags
- pockets
- pillowcases
- samplers
- Pictures
All of these and many other things find embroidering names or sentences useful.
Conclusion
Finally, embroidering names is a very famous technique nowadays. You can learn to embroider initials and eventually master embroidering names. You can use either embroidery or sewing machine for this purpose. If you don’t have a machine, you can use hand techniques to create the names’ outlines.
The key to successful embroidery of names is practice and patience. With this and checking out more great articles here on embroik.com (sorry for the plug), I know you can achieve the best designs and fonts!
