 Quilting is a craft in which one sews together at the very least, three layers of fabric by either hand stitching, using a longarm machine, an average home machine, or even an embroidery machine. This article will provide you with essential information on ‘how to quilt on an embroidery machine’ and some helpful tips while you are quilting.
Steps to Quilt on an Embroidery Machine:
-
Prepare your project
The first step of quilting on an embroidery machine is to prepare your project. It is the average step of batting and backing, which is used in quilting. How you do the backing, depends on what item you are quilting, if it is a blanket it is better to use the right quality fabric since the backing will be shown, if it is a cushion or pillow, you can use any backing fabric since it won’t be shown.
-
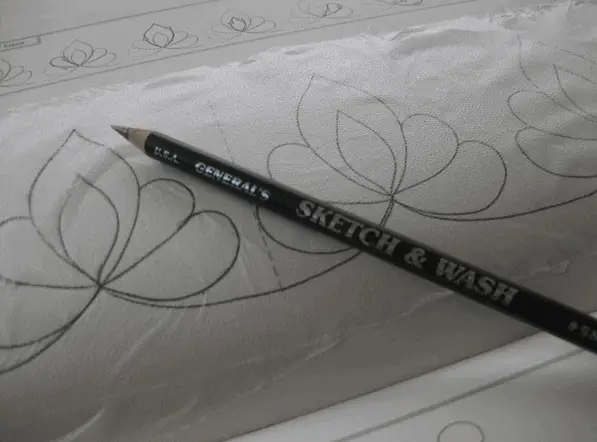
Sketch the quilting areas
You can use a fabric pencil to mark the areas which have to be quilted. Be sure that your markings are readable for you so you can quickly start quilting.
-
Choose a hoop and a design
The third step would be to choose a hoop and a design you want to embroider on your item. You can choose a design to your liking, also something that can be up to your caliber as well, choosing a sturdy design for your first quilt might backfire. You also need to choose a hoop size that will help you in quilting.
-
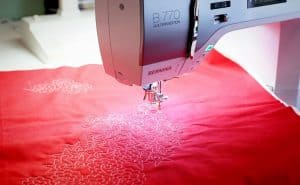
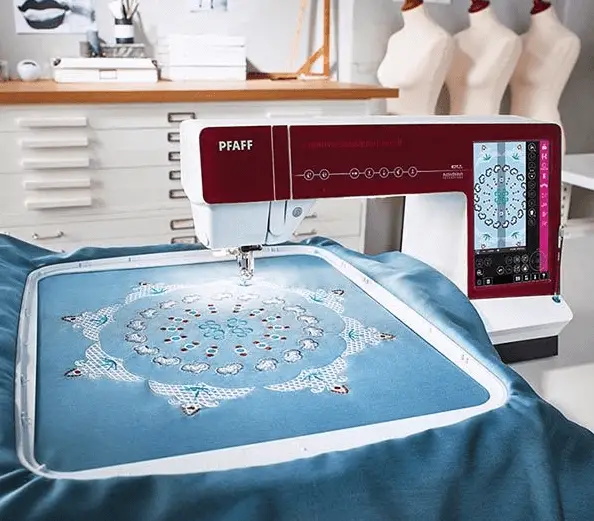
Set up your embroidery machine for quilting
The next step would be to start setting up your embroidery machine. You need to place your threads nicely, make sure there aren’t any knots in the thread, or be stuck anywhere. You might also need to attach the embroidery footings and choose the better needle.

-
Sizing the design
Sizing the design would be the next step in quilting on an embroidery machine. If your embroidery machine is more on the manual side, you need to select the most suitable size for your design. If the machine is automatic, you can easily select the size on the touchpad.

-
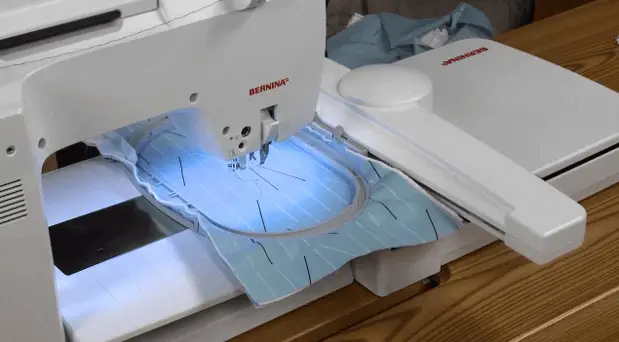
Project Hooping
Hooping the project should be done efficiently as well. The batting should be readjusted according to your measurements, be sure it fits both the front and back and do not put a lot of stress on the hoop itself.
-
Set up the file
Set up the file. You need to photograph and align the hoop well and position and scale your file before you start working.
-
Hoop Alignment
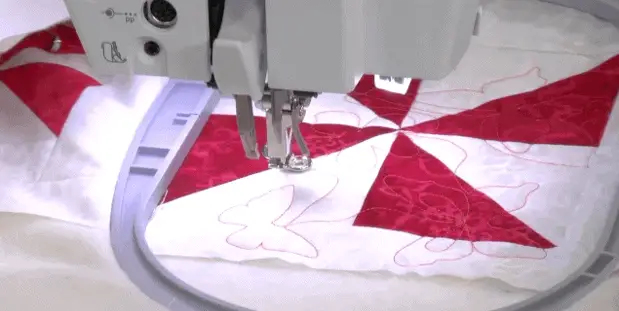
Position the hoop in the embroidery machine and start your work.
-
Repeat the above steps
The last step would be to repeat the steps to design the other areas of your project. Settle the file and design nicely every time, so you do not get uneven quilting or embroidery.
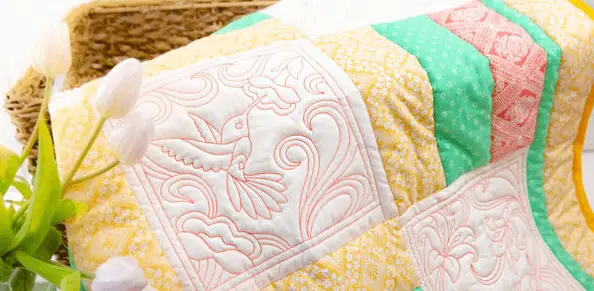
After that, you can efficiently finish your project, just like how you wished.
The next thing to discuss in this article would be some fantastic quilting techniques that make the process easier.
Embroidery Machine Quilting Techniques:
1. The Quilting Terminology:
Before you start making quilts, it is better to learn and be knowledgeable about the skills required for quilting. Also, familiarizing yourself with the abbreviations used in measurements and patterns is excellent before starting your project. It is a good thing to keep a notepad where you can either jolt down the basis of quilting or purchase a book with everything already in it. It makes the learning process more efficient, and you can easily follow all the given instructions.
2. Fabric Qualities:
It is always better to know the quality of the fabrics since they are like the holding structure of a quilt. It is far better to understand how to care for your quilt after it’s done and even before since you can make the patches much easier that way.
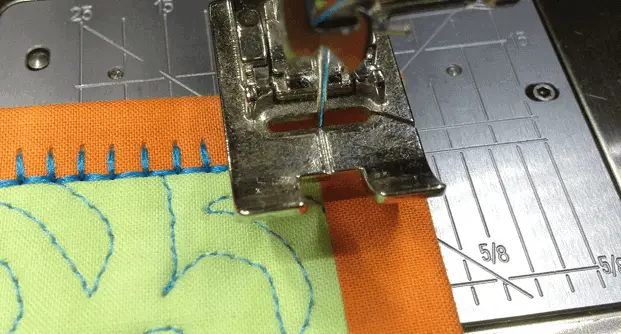
3. Seam Allowance:
For beginners, it is better you first learn how to sew 1/4″ seam allowance. Since many people are used to sewing around 5/8″, their seam allowances on quilts are more significant than they should be. That is why you should test on a few extra fabrics first before working on your original project.
4. Rotary Cutting:
It is another skill you should learn before working on your project, as this is very important. Rotary cutting is beneficial to cut fast, effectively, and efficiently without wasting a lot of time. Rotary tools are easy to use once you learn the basics and provide so much assistance for quick cutting of the fabric.
5. Quick Piecing:
It is better to learn strip piecing and other types of quick piecing techniques earlier so you can work on your projects efficiently for a beginner quilter. Once you learn these techniques, you can easily sew large pieces of fabric and slice off mid-section to easily create amazing pre-sewn blocks. This way, your quilt will look much prettier and cleaner as well.
6. Measuring the Borders Right:
Measuring the borders of your quilt right is the basic. You can add one or even more borders to the edges of the quilt. Not only will that look gorgeous and neat, but also get rid of the random skewed edges of the quilt you are preparing. Most beginner quilters ascertain the border length by measuring the outer edges of the quilting fabric. If the quilt is a bit skewed up from the outer edges, you can use this technique to hide those ugly marks and make your quilt even more beautiful.
7. Don’t Stress over small errors:
As a beginner quilter, you mustn’t stress a lot over the small errors that come in your work line. For your first time, cut yourself some slack and try bringing newly learned information over time in your projects. Do not panic when you make a mistake as it will only make the situation worst.
Conclusion
At the end of the article, I hope that you have enjoyed learned a great deal about quilting on an embroidery machine and other useful tips about quilting in general.